The Perfect San Giorgio Baked Ziti for Cozy Nights In
Table of Contents
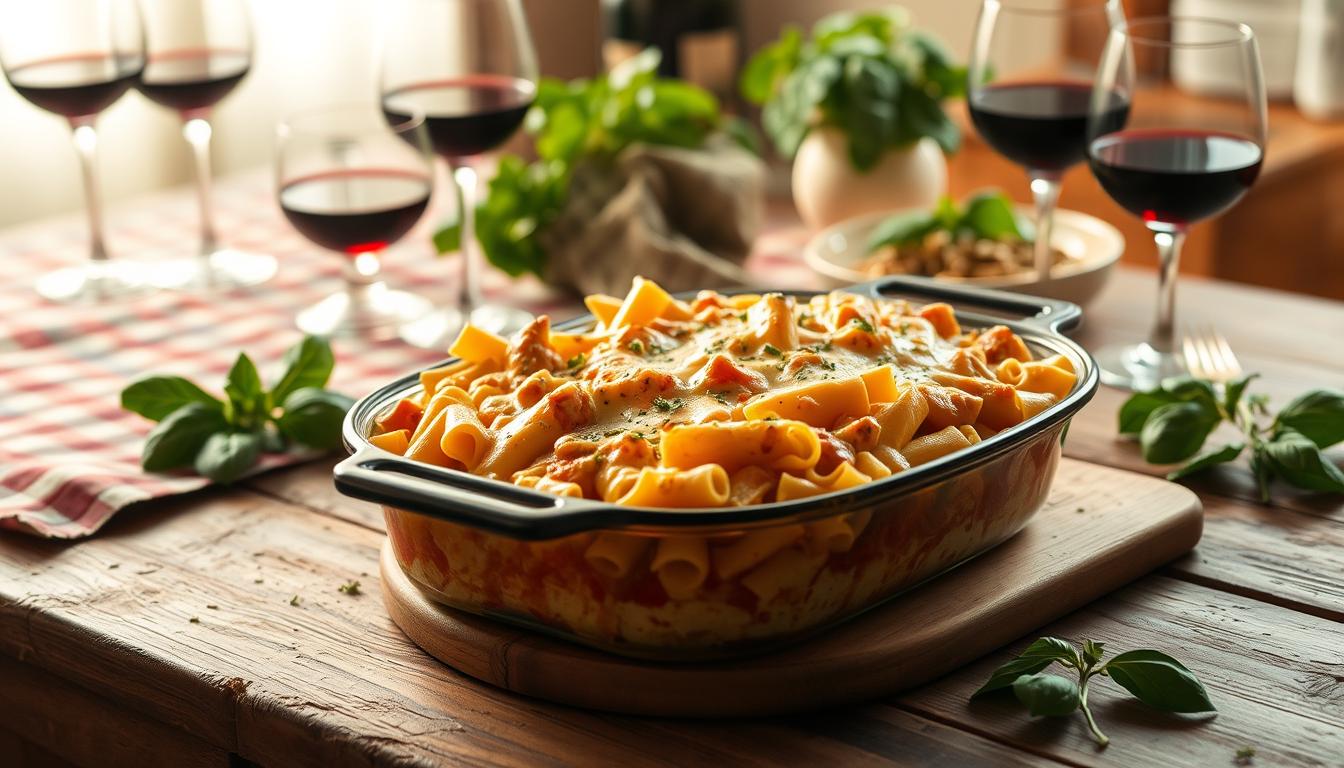
There’s nothing like a homemade meal on a cold night. Imagine sitting in your favorite chair, surrounded by soft light. The smell of cheese and tomatoes from the oven fills the air. That’s the magic of san giorgio baked ziti.
This dish is a comfort in every bite. For decades, it’s been a favorite for families looking for simple pleasures. It’s layers of pasta, savory sauce, and melted cheese. It’s like a big hug in a casserole.
San Giorgio pasta has been the key to the best baked ziti since 1898. Its unique shape absorbs sauce perfectly, making every bite a joy. It’s perfect for any occasion, big or small. It’s the kind of food that makes you feel right at home.
Key Takeaways
- San Giorgio pasta’s unique shape makes it ideal for baked ziti’s rich layers.
- Baked ziti combines Italian heritage with American comfort food traditions.
- Homemade versions beat takeout with minimal effort and maximum flavor.
- Customize the recipe with meats, cheeses, or veggies to suit any taste.
- Learn pro tips to ensure your casserole is golden-browned and bubbly every time.
Why San Giorgio Baked Ziti is the Ultimate Comfort Food
Imagine sinking a fork into a warm, cheesy layer of san giorgio baked ziti. It’s more than just food—it’s a connection to tradition and a mood booster. Let’s explore why it’s a timeless favorite.
The Italian-American Heritage of Baked Ziti
Baked ziti comes from southern Italy’s pasta al forno. But it found its modern form in American kitchens. Immigrants mixed tomato sauces and cheeses into a casserole perfect for family gatherings.
Today, classic baked ziti is a staple at picnics and holidays. It bridges cultures with every bite.
What Makes San Giorgio Pasta Special for Baking
San Giorgio’s ziti pasta is made with durum wheat. This creates tubes that trap sauces and cheese without crumbling. Its sturdy shape holds up perfectly in the oven, ensuring each layer stays intact.
Unlike delicate pastas that sog out, San Giorgio’s design makes every serving satisfyingly hearty.
Comfort Food Psychology: Why We Crave Baked Pasta
When stress hits, your brain craves familiar flavors. The carbs in san giorgio baked ziti boost serotonin. Melty cheese and savory sauce trigger nostalgia.
Science shows comfort foods like this pasta activate feel-good memories. They turn meals into mood lifts.
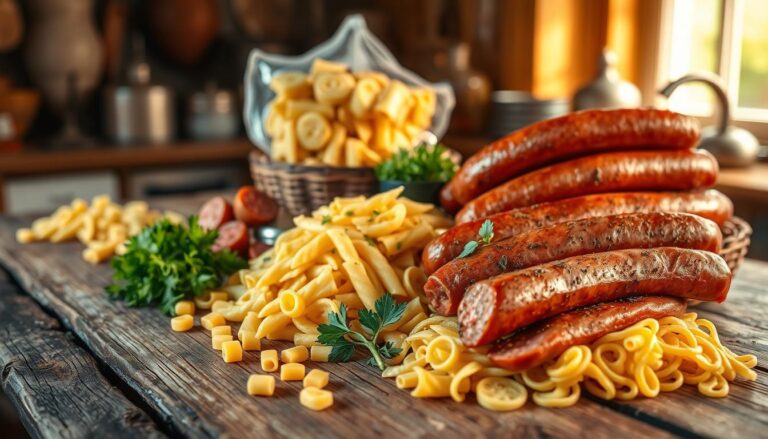
Essential Ingredients for Authentic San Giorgio Baked Ziti
Every bite of san giorgio baked ziti relies on the right ingredients. Start with San Giorgio ziti pasta. Its tube shape holds sauce well without getting mushy.
Use whole peeled tomatoes for the sauce base. Fresh basil and garlic add a bright taste. Parmesan cheese balances out the creamy ones.
- Pasta: San Giorgio ziti’s ridges trap sauce. Avoid overcooking to prevent mushiness.
- Sauce: San Marzano tomatoes offer natural sweetness. Crush garlic gently to avoid bitterness.
- Cheeses: Fresh mozzarella melts best. Mix pecorino romano with parmesan for umami depth.
Quality is key: Use low-moisture mozzarella if fresh isn’t available. For a baked ziti recipe, pre-shredded cheese can dry out—grate blocks yourself. Red pepper flakes add heat without overwhelming. Try adding spinach or roasted peppers for extra flavor.
Pro tip: Layer ingredients in this order: pasta, sauce, cheese. This ensures even distribution. Adjust quantities based on guests—1.5 cups pasta per serving works well.
Step-by-Step Guide to Making the Best Baked Ziti
Making the best baked ziti is all about following simple steps. These steps turn this Italian-American dish into a easy baked ziti that’s sure to impress. Here’s how to make each layer perfect.
Preparing the Perfect San Giorgio Ziti Pasta
Cook the pasta until it’s al dente. Stir it now and then to avoid clumps. Drain it when it’s still firm, as it will cook a bit more in the oven.
Use a lot of salt in the pasta water. About 1 tbsp per quart will make the pasta taste better.
Creating a Flavorful Sauce Base
- Start by sautéing garlic and onions in olive oil until they’re soft.
- Then, add crushed tomatoes and a bit of sugar to balance the acidity.
- Let the sauce simmer for 15 minutes to blend the flavors. Add dried basil and oregano.
Cheese Selection and Layering Techniques
- Choose a mix of mozzarella for its stretchiness and sharp cheddar for a tangy taste.
- Layer pasta, sauce, and cheese, starting and ending with cheese.
- Pat dry the top layer of cheese to keep it from getting soggy.
Baking Time and Temperature Secrets
Preheat your oven to 375°F. Bake the ziti uncovered for 30-40 minutes until it’s golden brown.
Let it rest for 10 minutes after baking. A crispy top and a gooey center mean it’s done right.
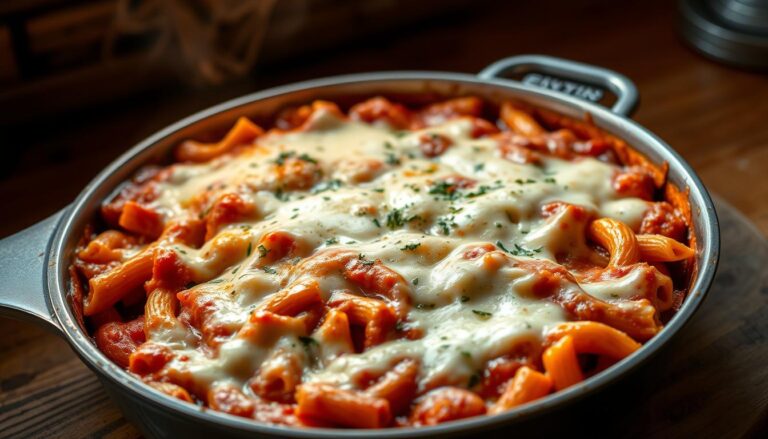
Classic San Giorgio Baked Ziti Recipe
Learn to make the classic baked ziti with this easy guide. Each ingredient and step helps your dish taste like it’s from a restaurant. Begin with top-quality San Giorgio ziti pasta, the key to this baked ziti recipe.

Ingredient List with Measurements
| Ingredients | Measurements |
|---|---|
| San Giorgio ziti pasta | 1 lb |
| Spicy marinara sauce | 3 cups |
| Mozzarella cheese | 2 cups shredded |
| Ricotta cheese | 1 (15 oz) container |
| Italian seasoning | 1 tsp |
| Ground Italian sausage | ½ lb (optional) |
Detailed Cooking Instructions
- Cook pasta: Boil San Giorgio ziti for 8 minutes, then drain and rinse with cold water.
- Prep sauce: Sauté onions, mix with marinara, and simmer for 10 minutes.
- Layer: Toss pasta with sauce, spread in a 9×13″ dish. Add cheese layers, ending with mozzarella.
- Bake: At 375°F for 30 minutes until golden. Let rest 10 minutes before serving.
Make-Ahead and Storage Tips
- Prep sauce and cheese blends up to 2 days ahead.
- Assembled unbaked dish freezes well in airtight containers for 1 month.
- Reheat baked leftovers at 350°F for 15 minutes.
Delicious Variations for Your Baked Ziti Casserole
Love trying new things in the kitchen? Turn your baked ziti casserole into something exciting with these ideas. Whether you want bold flavors or something lighter, these changes will keep your
Try these flavor upgrades:
- Spicy kick: Add red pepper flakes or a bit of arrabbiata sauce for a kick.
- Pesto lover’s version: Mix basil pesto into the ricotta for a fresh taste.
- White sauce magic: Use creamy béchamel or Alfredo instead of marinara.
Add texture with these mix-ins:
- Roasted veggies like eggplant or zucchini add a nice depth.
- Crushed tomatoes or sun-dried tomatoes for a tangy touch.
- Nutritional yeast for a vegan umami flavor.
Adapt for any diet:
- Gluten-free: Use San Giorgio’s certified gluten-free pasta.
- Vegan: Swap cashew cream for cream sauce and nutritional yeast for cheese.
- Lighter option: Use less cheese and add more veggies.
Seasonal updates are great too—try butternut squash in fall or cherry tomatoes in summer. Even small changes can make your easy baked ziti feel new. The base stays the same, but you can explore endless possibilities.
Creating Baked Ziti With Meat: Protein Options and Preparation
Start by choosing proteins that boost the flavor of your san giorgio baked ziti. You can go for meat or plant-based options. These tips will help keep your dish hearty and balanced.

Ground Beef and Italian Sausage Combinations
For a classic baked ziti with meat, mix 80/20 ground beef with Italian sausage. Here’s how:
- Brown beef in a skillet until crispy, draining excess grease
- Add sweet or hot sausage to the pan, breaking it apart as it cooks
- Simmer in marinara sauce for 10 minutes to meld flavors
Vegetarian Protein Alternatives
Plant-based options can be just as tasty. Try these:
- Beyond Meat crumbles: sauté with garlic before mixing
- Marinated tofu: press first then season with Italian seasoning
- Lentils: boil then toss in olive oil and oregano for meaty texture
Balancing Meat and Sauce Ratios
To avoid soggy layers, follow these steps:
- Use 1 lb protein per 12 oz of San Giorgio pasta
- Layer sauce between meat and pasta to prevent dryness
- Top with cheese last to maintain crispiness
Adjust seasoning if using pre-seasoned meats, tasting sauce before assembly.
The Ricotta Debate: With or Without in Your San Giorgio Baked Ziti
When making San Giorgio baked ziti, the ricotta debate is a big one. Both baked ziti with ricotta and baked ziti without ricotta have their own charm. Ricotta makes it creamy but can make it soggy if not used right. Without ricotta, the pasta flavors pop, but you need to keep it moist.
- With ricotta: Mix drained ricotta into sauce layers for rich, custardy pockets. Ideal for fans of layered textures.
- Without ricotta: Double mozzarella or add béchamel for cheesy pull without tangy notes.
| Aspect | Baked Ziti with Ricotta | Baked Ziti without Ricotta |
|---|---|---|
| Texture | Creamy, soft layers | Crunchy top with firm pasta |
| Moisture Control | Drain ricotta 1 hour before mixing | Use extra sauce for even distribution |
| Flavor Profile | Milky undertones | Pure tomato-and-cheese dominance |
Try both ways with San Giorgio pasta. For baked ziti with ricotta, mix ricotta with half the marinara before layering. For a traditional taste, go for baked ziti without ricotta and use grated Parmesan for sharpness. If you skip ricotta, add ¼ cup extra mozzarella to keep it together.
Expert Tips for Elevating Your Baked Ziti from Good to Great
Turn your homemade best baked ziti into a dish fit for a restaurant. Focus on details like the right equipment and texture. This will make your baked ziti casserole a hit every time.
Choosing the Right Baking Dish
Start with the right dish. A 9×13-inch ceramic dish is best for even heat. This creates golden edges and perfectly cooked centers. Glass dishes bake slowly, while metal can scorch edges.
Avoid shallow dishes. Choose ones that are 2-3 inches deep. This prevents the sauce from separating.
Achieving the Perfect Cheese Pull
Stretchy cheese is essential. Mix high-moisture mozzarella with low-moisture types for the best stretch. Place cheese in the middle, not on top, to trap steam.
Bake at 375°F until it’s bubbly. Then, broil for 2-3 minutes to get a crispy top. Let it rest for 10 minutes after baking to keep it stretchy.
Balancing Moisture in Your Baked Ziti
- Cook pasta 1-2 minutes less than “al dente” to absorb sauce during baking.
- Simmer sauce 10 extra minutes to reduce excess liquid before layering.
- Cover with foil halfway through baking to avoid drying.
- If too soupy, add ½ cup uncooked pasta to soak up moisture.
These tips will make your best baked ziti a crowd-pleaser. Try these adjustments to make every bite unforgettable.
Pairing Suggestions: What to Serve with Your Baked Ziti
Make your san giorgio baked ziti even better with the right sides and drinks. These choices balance flavors and textures, making each bite special.
- Light salads like arugula with balsamic vinaigrette cut through the pasta’s richness.
- Garlic bread or bruschetta adds crusty texture and savory depth.
- Roasted seasonal vegetables—zucchini, bell peppers, or asparagus—offer a fresh contrast.
Wine and Beverages:
- Pair with Italian reds like Chianti ($15–$20) or American Cabernet Sauvignon.
- Sparkling Italian sodas (Lemonata or Aranciata Rossa) refresh the palate between bites.
- Espresso or tiramisu coffee drinks make a sweet finale.
Plan your meal well: Start with antipasti (marinated olives, prosciutto), then the classic baked ziti. Finish with fruit salad or panna cotta. Adjust the amount of food based on how many guests you have. Every little detail makes the meal a celebration of Italian flavors.
Conclusion: Embracing the Comfort of Homemade Baked Ziti
San Giorgio baked ziti is more than a meal. It’s a tradition that brings heritage and modern life together. Its creamy layers and hearty flavors offer comfort that feels both familiar and personal.
By mastering techniques like cheese layering or sauce customization, you turn simple ingredients into something special. Whether you add Italian sausage or opt for vegetarian options, the best baked ziti adapts to your kitchen’s rhythm. San Giorgio’s pasta ensures quality, while your creativity adds flair.
Share your version online or keep it close—it’s a dish that grows with every bite. Start baking and discover how homemade comfort food can transform ordinary nights into cherished moments. Your oven holds the potential for a meal that’s as warm as the memories it creates.
More Pasta Recipes More San Giorgio Baked Ziti Recipe
FAQ
What is San Giorgio baked ziti?
What makes the best baked ziti?
Is it possible to make baked ziti without ricotta?
Can I make an easy baked ziti recipe ahead of time?
Are there vegetarian options for baked ziti?
What types of cheese are best for baked ziti?
How do I achieve the perfect cheese pull in my baked ziti?
What can I serve with my baked ziti?
How should I store leftovers of baked ziti?
There are no reviews yet. Be the first one to write one.