Canes Chicken Recipe: Mouth-Watering Fried Chicken
Table of Contents
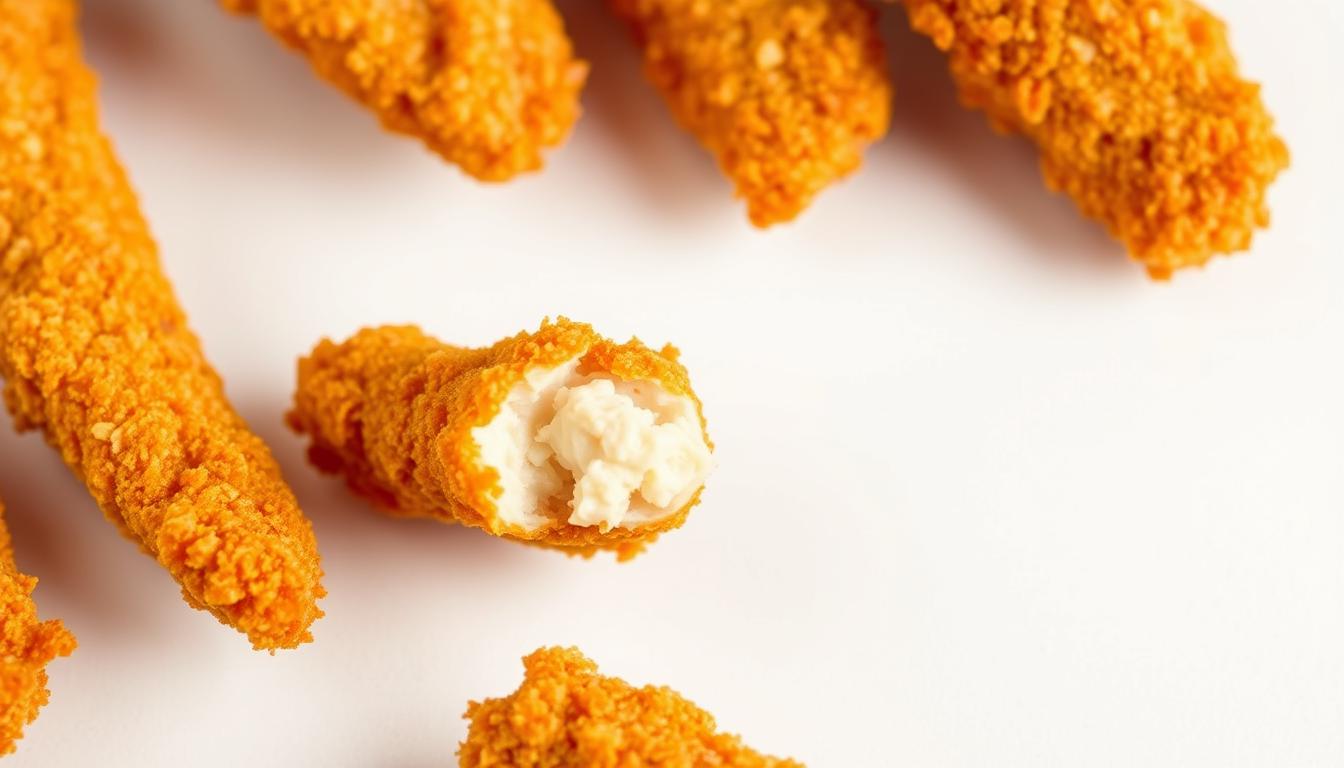
Ever had a crispy chicken finger from Raising Cane’s and wanted to make it at home? The canes chicken recipe is more than cooking. It’s about getting that perfect crunch and juicy taste that makes you want more. It’s great for late-night cravings or family dinners, offering restaurant-quality taste without waiting in line.
Key Takeaways
- Master the canes chicken recipe’s signature crunch with the right breading technique.
- Discover the secret blend of ingredients that define Raising Cane’s famous flavor.
- Learn how to customize this recipe to suit your taste, from spice levels to coatings.
- Follow a step-by-step guide to achieve golden-brown tenders at home.
- Explore healthier options like air-fryer methods without sacrificing taste.
The Story Behind Raising Cane’s Famous Chicken Fingers
Every famous fast food recipe has a story. Raising Cane’s started with a dream. Todd Graves worked hard to perfect his chicken finger idea. He opened his first place in Louisiana in 1996.
His hard work paid off. Now, Cane’s is known across the country for its delicious chicken.
How Raising Cane’s Started
Graves faced many rejections before getting funding. But he never gave up. He focused on making the best chicken fingers.
This focus became the heart of the brand.
What Makes Canes Chicken Special
Several things make Cane’s chicken stand out:
- Fresh chicken never frozen
- Cornmeal-based batter for extra crunch
- Signature sweet-tea-based marinade
| Traditional Fast Food | Raising Cane’s |
|---|---|
| Mass-produced chicken | Freshly breaded daily |
| Standard sauces | Handcrafted Zesty Lemon Pepper Sauce |
| Large menus | One-item focus |
Why People Love This Fast Food Favorite
People love Cane’s for its crunchy chicken and quality. The simple menu lets Cane’s focus on every detail. Fans say it’s “finger-licking good” and “the best.”
Essential Ingredients for Perfect Canes Chicken Recipe
Mastering the canes chicken recipe begins with the right ingredients. Each part is crucial for the crispy coating and juicy flavor. Let’s explore what you need:
- Chicken tenders or boneless chicken breasts cut into even strips
- Buttermilk for marinating (or a milk + vinegar substitute)
- All-purpose flour mixed with seasoned flour
- A spice blend of paprika, garlic powder, onion powder, and salt
- Vegetable oil for frying
The buttermilk step is essential—it tenderizes the meat and adds tanginess. Use fresh spices for the best flavor. Avoid self-rising flour to keep it crispy.
For buttermilk, mix 1 cup milk with 1 tbsp vinegar. Let it sit 5 minutes. Never skip the canes chicken recipe spice ratio—it’s key for that signature taste. Quality ingredients are crucial here.
Preparing Your Kitchen for Homemade Chicken Tenders
Mastering homemade chicken tenders begins with a clean workspace. A few simple steps help keep your kitchen tidy and efficient. Here’s how to prepare:
Equipment You’ll Need
Start with a deep fryer or a heavy pot for high-heat cooking. A clip-on candy thermometer is key to check oil temperatures. Also, have a slotted spoon for lifting tenders and paper towels for draining. Keep all your tools within reach to avoid rushing.
- Heavy-duty pot (stainless steel or cast iron)
- Thermometer (set to 350–375°F)
- Wire cooling rack over baking sheet
- Heat-resistant gloves
Safety Tips for Deep Frying
Always watch the hot oil. Have a lid ready to put out flames quickly. Cool oil completely before throwing it away—don’t pour hot grease down drains. Experts say use a splatter screen and fry outside if your kitchen doesn’t have good air flow.
Setting Up Your Breading Station
“Wet hand, dry hand” prevents breading clumps. Dip one hand in egg wash, the other in flour mixture. Shake off extra breading before frying for a crisper coating.
Use parchment paper to catch crumbs. Set up bowls in a triangle: buttermilk soak, seasoned flour, and a third for extra spices. This layout saves time and prevents batters from mixing together.
Step-by-Step Canes Chicken Recipe
Learning the easy chicken finger recipe is easy. Just follow these six steps to make restaurant-quality tenders at home:

- Marinate the chicken: Put chicken strips in a bowl. Mix buttermilk and spices, pour over meat, and chill for 2-4 hours. This step makes the meat tender.
- Set up your dredging line: Arrange three shallow dishes—seasoned flour, beaten eggs, and breading mix. Keep them close to make the process smoother.
- Triple-dredge method: Coat chicken in flour, then egg, and finally breading. Press hard to stick. Do it again for extra crunch.
- Monitor oil temperature: Heat oil to 350°F (175°C) in a big pot. Fry 3-4 pieces at once for 3-4 minutes until golden. Too many pieces can make the oil too cool, leading to soggy chicken.
- Rest and serve: Drain on a wire rack to keep it crispy. Wait 2 minutes before serving with your favorite sauce. This step is key for crispiness.
- Storage tip: Store leftovers in an airtight container. Reheat in a 350°F oven for 10 minutes. Don’t microwave to keep the texture right.
“The secret is in the layers—marination penetrates the meat while triple dredging locks in flavor and crunch,” says executive chef Maria Gonzalez of Cane’s-inspired recipes.
Change frying time if chicken is thicker. Add 30 seconds for each extra centimeter. If the batter falls off, the egg wash might be too thick. This easy chicken finger recipe is simple yet precise, perfect for everyone.
The Secret to Crispy Chicken Strips Every Time
Getting crispy chicken strips right is more than just a recipe. These three tips will make your chicken golden and crunchy every time.
Oil Temperature Hacks
Oil temp is key for crispy chicken strips. Here’s what to do:
- Use a thermometer—never guess. Aim for 350–375°F (175–190°C).
- Adjust heat between batches to prevent temperature drops. Add a few tablespoons of fresh oil if needed.
- Cook in small batches to avoid overcrowding, which lowers oil temp too much.
Double Dredging Technique
Double dipping is a secret weapon. Here’s how to do it:
- Dredge chicken in seasoned flour, shake off excess, rest 5 minutes on a rack.
- Re-dip in fresh flour, pressing to ensure even coating.
- Patience here creates a thicker, crisper crust compared to single dredging.
Resting Period Importance
Letting breaded chicken rest 5–10 minutes before frying is crucial. This step helps the flour stick well, avoiding soggy spots or coatings falling off mid-fry. Pro chefs always do this—don’t skip it!
Creating the Perfect Homemade Canes Sauce Recipe
The secret to Cane’s iconic flavor is their zesty dipping sauce. Your homemade canes sauce recipe starts with mayonnaise as the base. Mix in ketchup, Worcestershire sauce, black pepper, and minced garlic. The right mix of tangy and creamy textures comes from these ingredients.
Follow these steps to craft the sauce:
- Combine 1 cup mayonnaise, ½ cup ketchup, 2 tablespoons Worcestershire sauce, ½ teaspoon black pepper, and 2 minced garlic cloves in a bowl.
- Whisk ingredients until smooth. Taste and adjust seasoning—add more garlic for boldness or a dash of cayenne for heat.
- Cover and refrigerate the mixture for at least 4 hours, ideally overnight. Resting lets flavors meld fully.
Pro tip: Store leftovers in an airtight container for up to one week. This homemade canes sauce recipe pairs perfectly with fried or baked tenders, and even enhances veggies or sandwiches. Try adding a squeeze of lemon juice for brightness or a pinch of paprika for smokiness.
Remember, patience pays off—letting the sauce sit ensures maximum flavor depth. Once ready, drizzle it over your crispy chicken strips and savor the restaurant-quality taste at home.
Serving Suggestions for Your Copycat Canes Chicken
Make your homemade copycat canes chicken even better with these serving ideas. They bring the restaurant feel to your table or add your own twist.
Traditional Canes-Style Presentation
Get the iconic look by placing chicken strips on a plate. Add a sauce drizzle, Texas toast, coleslaw, and crinkle-cut fries. For a quick fix, use disposable containers or store-bought slaw and pickles.
Creative Side Dishes to Complement Your Chicken
- Truffle fries: Add truffle oil and Parmesan for a fancy touch
- Garlic aioli broccoli: Roast with garlic and lemon for a zesty kick
- Spicy mac & cheese: Spice it up with cayenne and cheddar
Drink Pairings That Work Well
| Drink | Why It Works |
|---|---|
| Sweet tea | Its tartness balances fried textures |
| Root beer | Vanilla notes contrast crispiness |
| Sparkling water | Carbonation cleanses the palate |
Pair copycat canes chicken with these drinks for a meal that feels like a real drive-thru. Choose sides that fit your taste while keeping the main flavors.
Troubleshooting Common Issues With Fried Chicken
Even with the best chicken strip recipe, mistakes can happen. These fixes ensure your next batch turns out perfectly every time.

| Problem | Cause | Solution |
|---|---|---|
| Cold or rubbery meat | Cold oil or short frying time | Heat oil to 350–375°F and cook until golden (4–5 minutes per batch) |
| Coating peeling off | Wet chicken or rushed flipping | Pat chicken dry, shake off excess flour, and gently lower into oil |
| Oily, soggy coating | Overcrowding the fryer | Cook in small batches to avoid dropping oil temp below 325°F |
For extra-crispy results, let chicken rest on a wire rack after frying. Overcrowding causes steam buildup, making the coating soggy. Always test oil with a candy thermometer—fluctuating temps are the top culprit for uneven cooking.
Mastering these fixes means no more wasted batches. The best chicken strip recipe depends on precision, but even minor adjustments can turn a failed attempt into a success. Keep these tips handy for your next fry session.
Healthier Variations of the Best Chicken Strip Recipe
Want to enjoy homemade chicken tenders without losing flavor? Let’s look at healthier ways to make crispy chicken strips. These options are light yet still delicious, perfect for those watching their calories or dietary needs.
Air Fryer Adaptation
Try using an air fryer to cut down on oil by 75%. Here’s how:
- Preheat your air fryer to 375°F.
- Coat chicken strips in seasoned breading, then spray lightly with oil.
- Air-fry 15-20 minutes, flipping halfway for even cooking.
Baked Version for Less Oil
For a no-fry option, bake crispy chicken strips in the oven:
- Line a baking sheet with parchment paper.
- Coat chicken in a light oil spray and seasonings.
- Bake at 400°F for 20-25 minutes, flipping halfway.
Gluten-Free Breading Options
“For gluten-free breading, mix flours and spices in a shallow dish. Dip chicken in egg white first for better adhesion.”
Try these gluten-free breading mixes:
- Almond flour with paprika and garlic powder.
- Rice flour blended with parmesan for extra crunch.
- Commercial blends like Bob’s Red Mill Gluten-Free 1:1 Baking Flour.
Conclusion: Enjoying Restaurant-Quality Chicken at Home
Making canes chicken at home needs care but pays off with amazing results. Pay attention to marinating, oil temperature, and the special sauce. Each step, from breading to frying, adds to the dish’s crispy texture and taste.
Try different versions like air-frying or gluten-free breading. These changes let you make the recipe your own while keeping its core flavor. Whether you’re making it easier or adding new twists, aim for that irresistible crunch and tangy sauce.
Sharing your cooking journey helps build a community of home cooks. Post your canes chicken recipe or ask for tips. Your input helps others improve their cooking, making it a shared adventure. Keep trying until you get that perfect homemade canes chicken bite.
FAQ
What is the best chicken strip recipe for home cooking?
How do I make homemade Canes sauce?
Can I make Canes chicken in an air fryer?
What can I serve with my copycat Canes chicken?
Why does my chicken coating fall off during frying?
How can I make a gluten-free version of chicken strips?
What’s the secret to crispy chicken strips?
How can I prevent my chicken from being greasy?
Can I use chicken breasts instead of tenders?
There are no reviews yet. Be the first one to write one.